Step 1 - Create your bot
![]() for Jira administrators
for Jira administrators
Before you begin to receive notifications, Jira administrator must establish a connection between Telegram and Jira itself.
All communication between these services is performed via your custom telegram bot. If you don’t have one, please use the official documentation to get your bot. (see here)
Here is a quick guide how to:
Open Telegram.
Search for BotFather bot.
Type /start and follow the given workflow to create your bot (bot’s name must end in "bot").
Done. Your bot is created.
Step 2 - Set up connection
![]() for Jira administrators
for Jira administrators
After add-on installation Jira administrator must go to Settings → Manage apps → Telegram Connector → Telegram Bot to establish connection between Jira and Telegram.
![]() picture
picture
Here administrator must add crucial information about created Telegram bot:
Bot name
Access token.
This information is given only to bot creator from BotFather. Alongside with other control options.
After configuration is saved, service connection is complete. Now users can set up their own notification rules.
Configuration List
All created configurations of Telegram connector are listed on this page.
Log
On this page administrator can track configuration events or erros that took place.
Threads
This section controls parameters of plugin productivity and memory usage.
![]() For Jira System administrators only!
For Jira System administrators only!
It is not recommended to change parameters in this section without strong understanding of these consequences.
Step 3 - Create configuration
Users can be notified on events happening with your project or issues via Telegram group chats. All notifications are sent from Jira on behalf of your custom bot used for the whole Jira instance.
Each project administrator can set up configuration that will notify on certain events.
To do so go to Project settings → Telegram Connector. On this page you can create as many configurations as you want as long as they use different Telegram group ID.
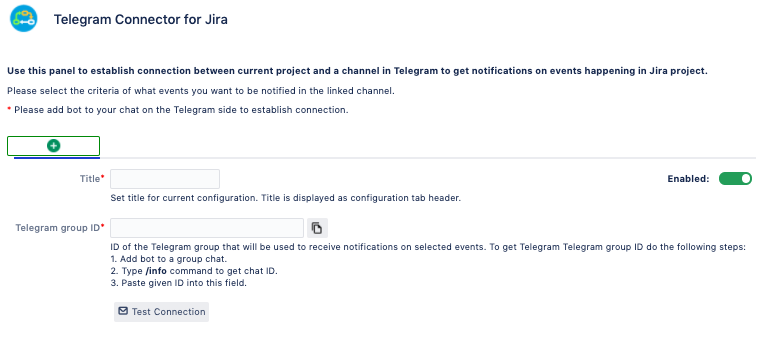
Telegram Group address
To start creating a configuration user must fill in the required fields:
Title (will be used as configuration name)
Telegram group ID
How to get Telegram group ID
Create Telegram group chat (see instruction)
Add bot to group chat (find bot name under "Telegram group ID" field)
Send /info command in chat to get Telegram group ID. (use /start command first if needed)
You can always test your connection to see if it is set up correctly by clicking on "Test Connection” button.
Events picking
After managing the Telegram group ID and bot commands users can select events they want to be notified on. Each configuration is split by sections of events depending on their specifics:
Comment
Issue
Worklog
Versions
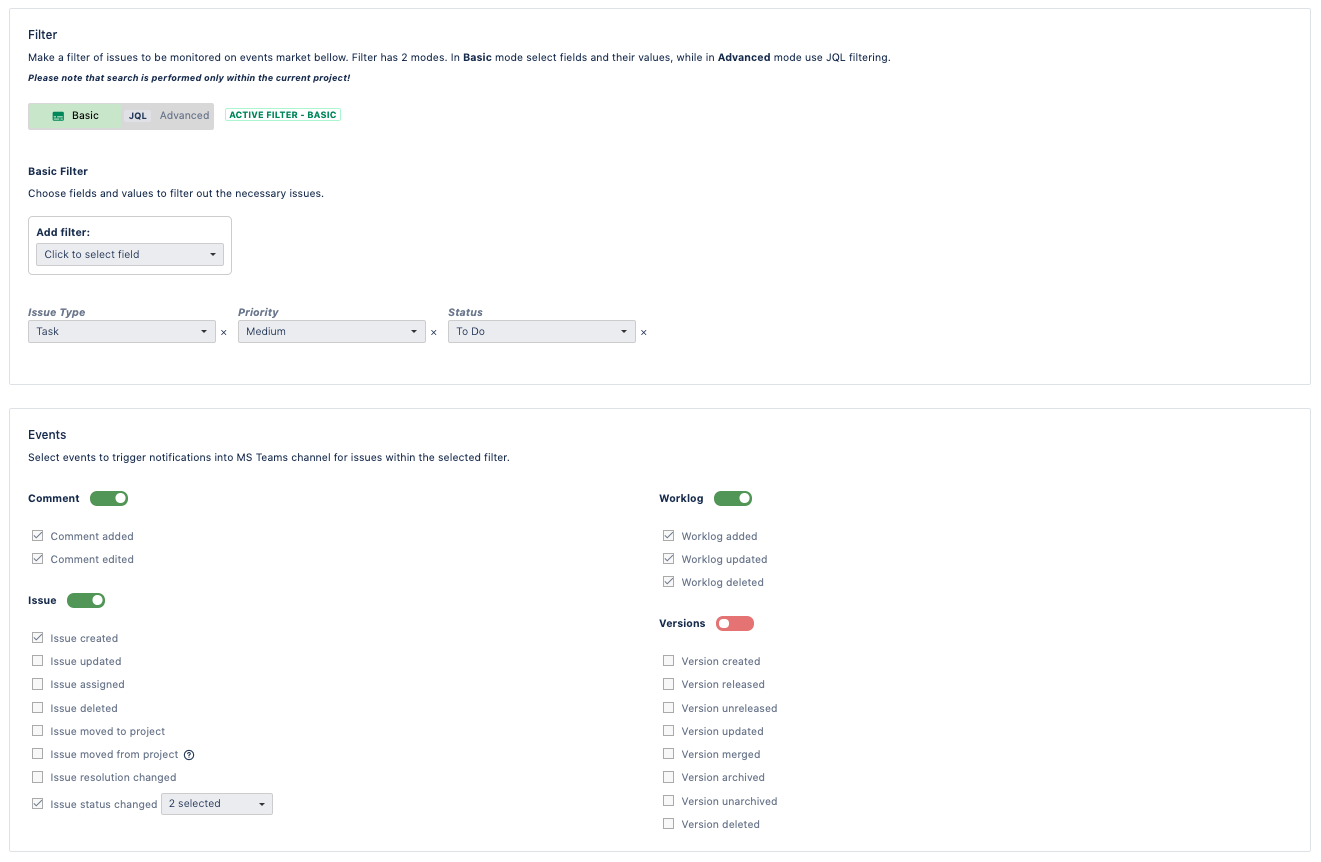
Activating toggles next to events will enable sending notifications to Telegram chat as soon as this event takes place in Jira.
To enable/disable the whole event column - activate or deactivate toggle for the whole column.
![]() Events will trigger notification only for those issues, that match filter for current configuration. Any event in issues that do not follow the configured filer will be ignored.
Events will trigger notification only for those issues, that match filter for current configuration. Any event in issues that do not follow the configured filer will be ignored.
Event | Description |
|---|---|
Comment | |
Comment added | Event triggers notification when a new comment is left in issue. |
Comment edited | Event triggers notification when comment in issue is edited. |
Issue | |
Issue created | Event triggers notification when issue is created in project. Please note, that event will only work if newly created issue matches the configured filter. |
Issue updated | Event triggers notification when issue is edited. |
Issue assigned | Event triggers notification when issue assignee is changed. |
Issue deleted | Event triggers notification when issue is deleted. |
Issue moved to project | Event triggers notification when issue is moved from another project to the current one. Please note, that event will only work if moved issue matches the configured filter. |
Issue moved from project | Event triggers notification when issue is moved from current project to the another one. Please note, that event will trigger notification regardless of the configured filter! |
Issue resolution changed | Event triggers notification when issue resolution is changed. After event activation a select list will appear. You can select specific resolutions you want to be notified of. |
Issue status changed | Event triggers notification when issue status is changed. After event activation a select list will appear. You can select specific resolutions you want to be notified of. |
Worklog | |
Worklog added | Event triggers notification when time is logged on issue. |
Worklog updated | Event triggers notification when logged time on issue is edited. |
Worklog deleted | Event triggers notification when logged time on issue is deleted. |
Versions Note, this block of events is not related to configured filter. i.e. Notification will be sent regardless of the configured filter! | |
Version created | Event triggers notification when new version is created in project. |
Version released | Event triggers notification when project version is marked as "Released". |
Version unreleased | Event triggers notification when project version changes its state from "Released" to "Unreleased" |
Version updated | Event triggers notification when new changes to project version details are made. |
Version merged | Event triggers notification when two project versions are merged into one. |
Version archived | Event triggers notification when project version is moved to "Archive". |
Version unarchived | Event triggers notification when project version is moved from "Archive". |
Version deleted | Event triggers notification when version is deleted from project. |
Basic/JQL filter
By default if any selected event (see Events section below) takes place in any issue in project - a notification will be immediately sent to Telegram group chat. If you want to limit the number of monitored issues, 2 modes of filtering are available: Basic and Advanced.
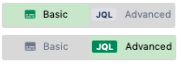
You can switch between filtering modes by clicking on the corresponding toggle. Note that only one filtering mode can exist at a time.
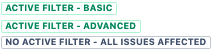
Label next to the toggle element will give a hint on what filter mode is configured for current setting.
Filter update will take effect immediately after saving settings and will erase another filter mode if configured.
Press Save to apply your changes.
Telegram is a separate tool. Due to this fact there is a small chance of network connectivity related issues.